Create a Featured Blog Post layout with Squarespace Summary Block
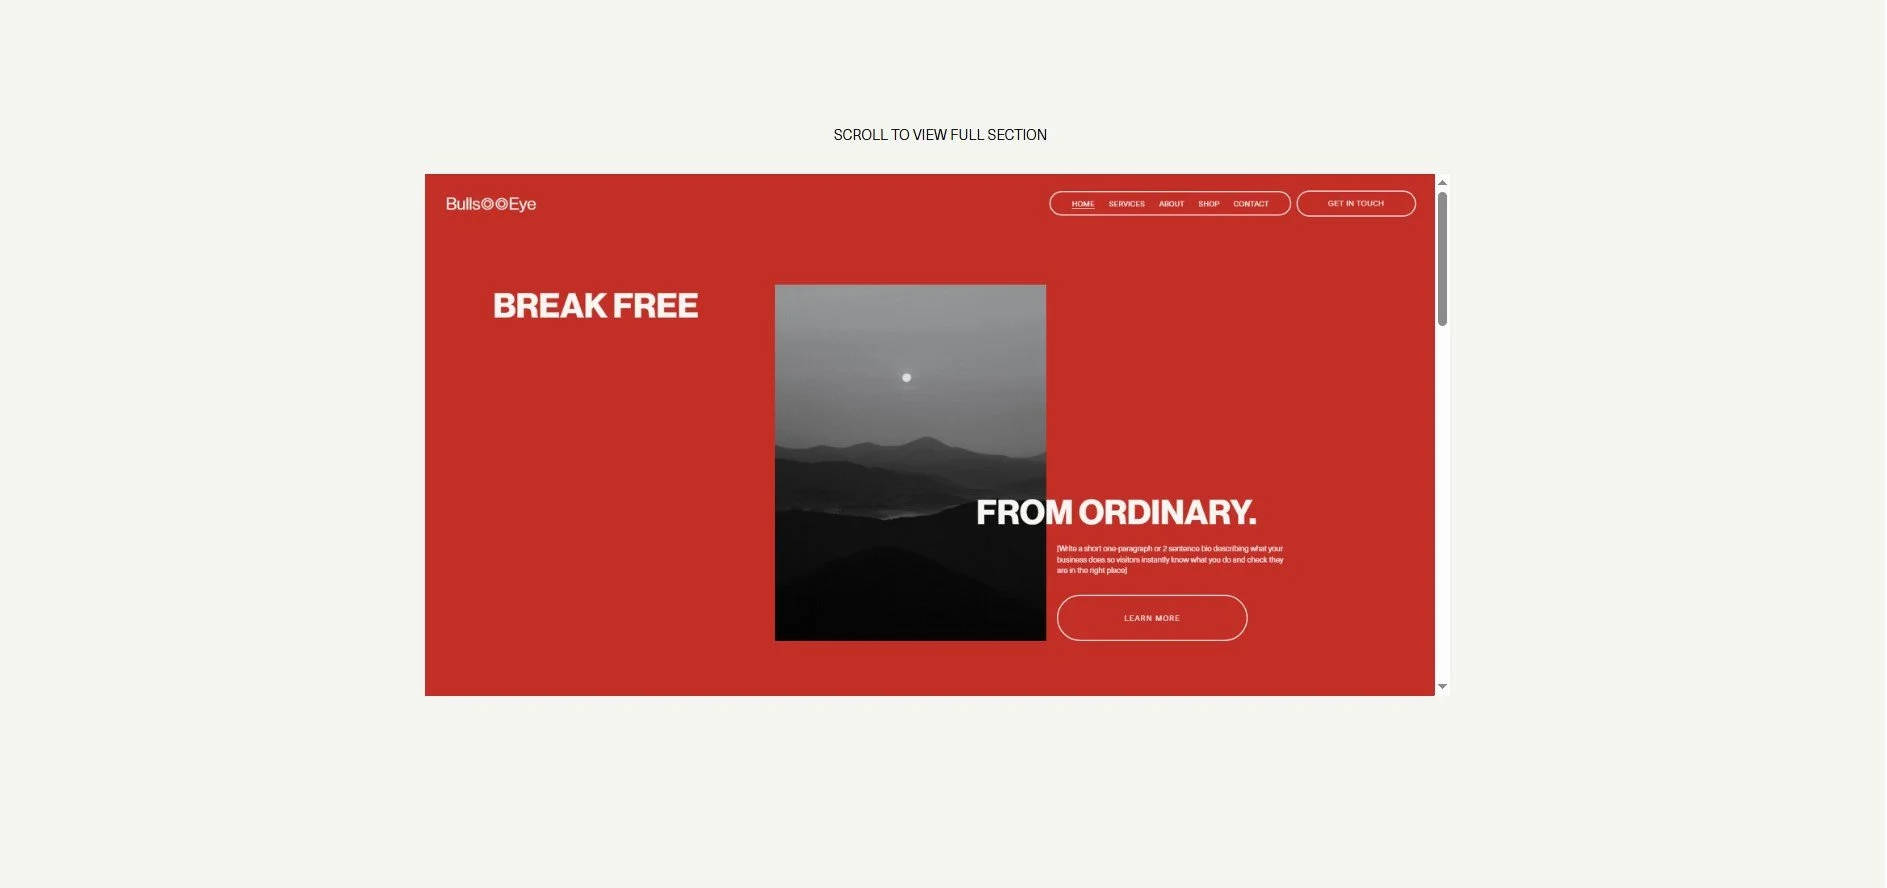
Squarespace’s Summary Block is a powerful tool for displaying blog posts dynamically across your website. By default, the layout options are somewhat limited, but with custom CSS, you can transform a Summary Block into a stunning featured blog post layout with the image on the left and text on the right.
In this tutorial, we’ll show you how to apply a custom CSS snippet to achieve this design.
Step 1: Add a Summary Block to Your Page
Navigate to the page where you want to showcase your featured blog post.
Click Edit and add a new Summary Block.
Choose the Carousel layout.
Under Content
Select your blog collection as the source.
Under Design, select:
Number of Items = 1
Items per Row = 1
Text = XL
Step 2: Add Custom CSS Code
/* Featured Post Block */@media only screen and (min-width: 768px){#block-yui_3_17_2_1_1741294025427_3331{ .fluid-engine .sqs-block{ display: block; height:auto; } .sqs-gallery-design-carousel .sqs-gallery-design-carousel-slide{ display: flex!important; flex-direction: row; flex-wrap: nowrap; justify-content: flex-start; } div.summary-thumbnail-outer-container{ width: 50%!important; } div.summary-thumbnail.img-wrapper{ padding-bottom: 0%!important; } img.summary-thumbnail-image.loaded{ position: relative!important; width: 100%!important; min-height: 35vh!important; object-fit:cover; left:0px!important; } div.summary-content.sqs-gallery-meta-container{ width: 50%!important; padding:2%!important; } }}
Found this tutorial helpful?


