How to build a stunning luxury website in just 3 days

Building a luxury website in a short timeframe doesn’t have to be overwhelming. With the right tools, strategy and focus, you can create a stunning, high-end website that captivates your audience.
Follow this step-by-step guide to design and launch your luxury website in just three days.
Day 1: Plan & prepare
Step 1: Define your brand and audience
The best websites thrive on clarity and sophistication.
The goal is to have a crystal-clear understanding of your brand and audience to guide every design and copy decision moving forward.
Start by defining:
Your brand identity: Outline your brand’s tone, colours, logo and typography.
Your target audience: Understand your audience’s preferences, pain points, and expectations for a high-end experience.
Step 2: Gather your assets
Preparation is key to smooth, stress-free design. Collect all the resources you’ll need so Day 2 is purely creative.
High-quality visuals: Professional images, video assets, and brand photography.
Branding assets: Logo files, style guides, colour palettes and font files.
Content essentials: Text snippets, bios, product descriptions, or service summaries.
Tip: Having everything ready upfront saves time and keeps your website launch on track.
Step 3: Draft your website copy
Your copy is what communicates your brand’s story, value, and luxury appeal. Planning it early ensures the design and messaging are fully aligned.
The goal here is to have a clear draft of all your website copy ready before moving into design on Day 2 so you can focus on layout and visuals without having to write on the fly.
Action steps:
Outline your core pages: Use your website copy template to map out each page (e.g., Homepage, About, Services/Products, Contact, Blog).
Define key messaging: For each page, write:
Headlines that grab attention
Subheadlines that clarify your value
Calls-to-action (CTAs) that guide your visitors
Luxury tone: Use concise, elegant language. Avoid clutter and over-explaining. Every word should reinforce sophistication and quality.
Audience alignment: Ensure your copy speaks directly to your target audience’s desires, needs, and expectations.
Visual/copy pairing: Note where images, videos, or graphics will complement your text for maximum impact.
Day 2: Design & develop

Now that your brand, audience, assets and copy are ready, it’s time to bring your website to life. Day 2 is all about turning your strategy into a visually stunning and functional website.
Step 1: Customise Your template
Once you’ve chosen a template, start personalising it to align with your brand. Focus on:
Colours and fonts: Use your brand’s colour palette and fonts to be instantly recognisable.
Images: Replace placeholder images with your high-quality visuals. Luxury websites rely heavily on stunning imagery - this is not the area to scrimp - regardless who your target demographic is.
Navigation: Keep menus simple and intuitive. Use dropdowns sparingly.
Step 2: Build out your core pages
Every website needs a solid foundation of core pages that communicate your brand, showcase your offerings and guide visitors toward action. Here’s how to approach each one:
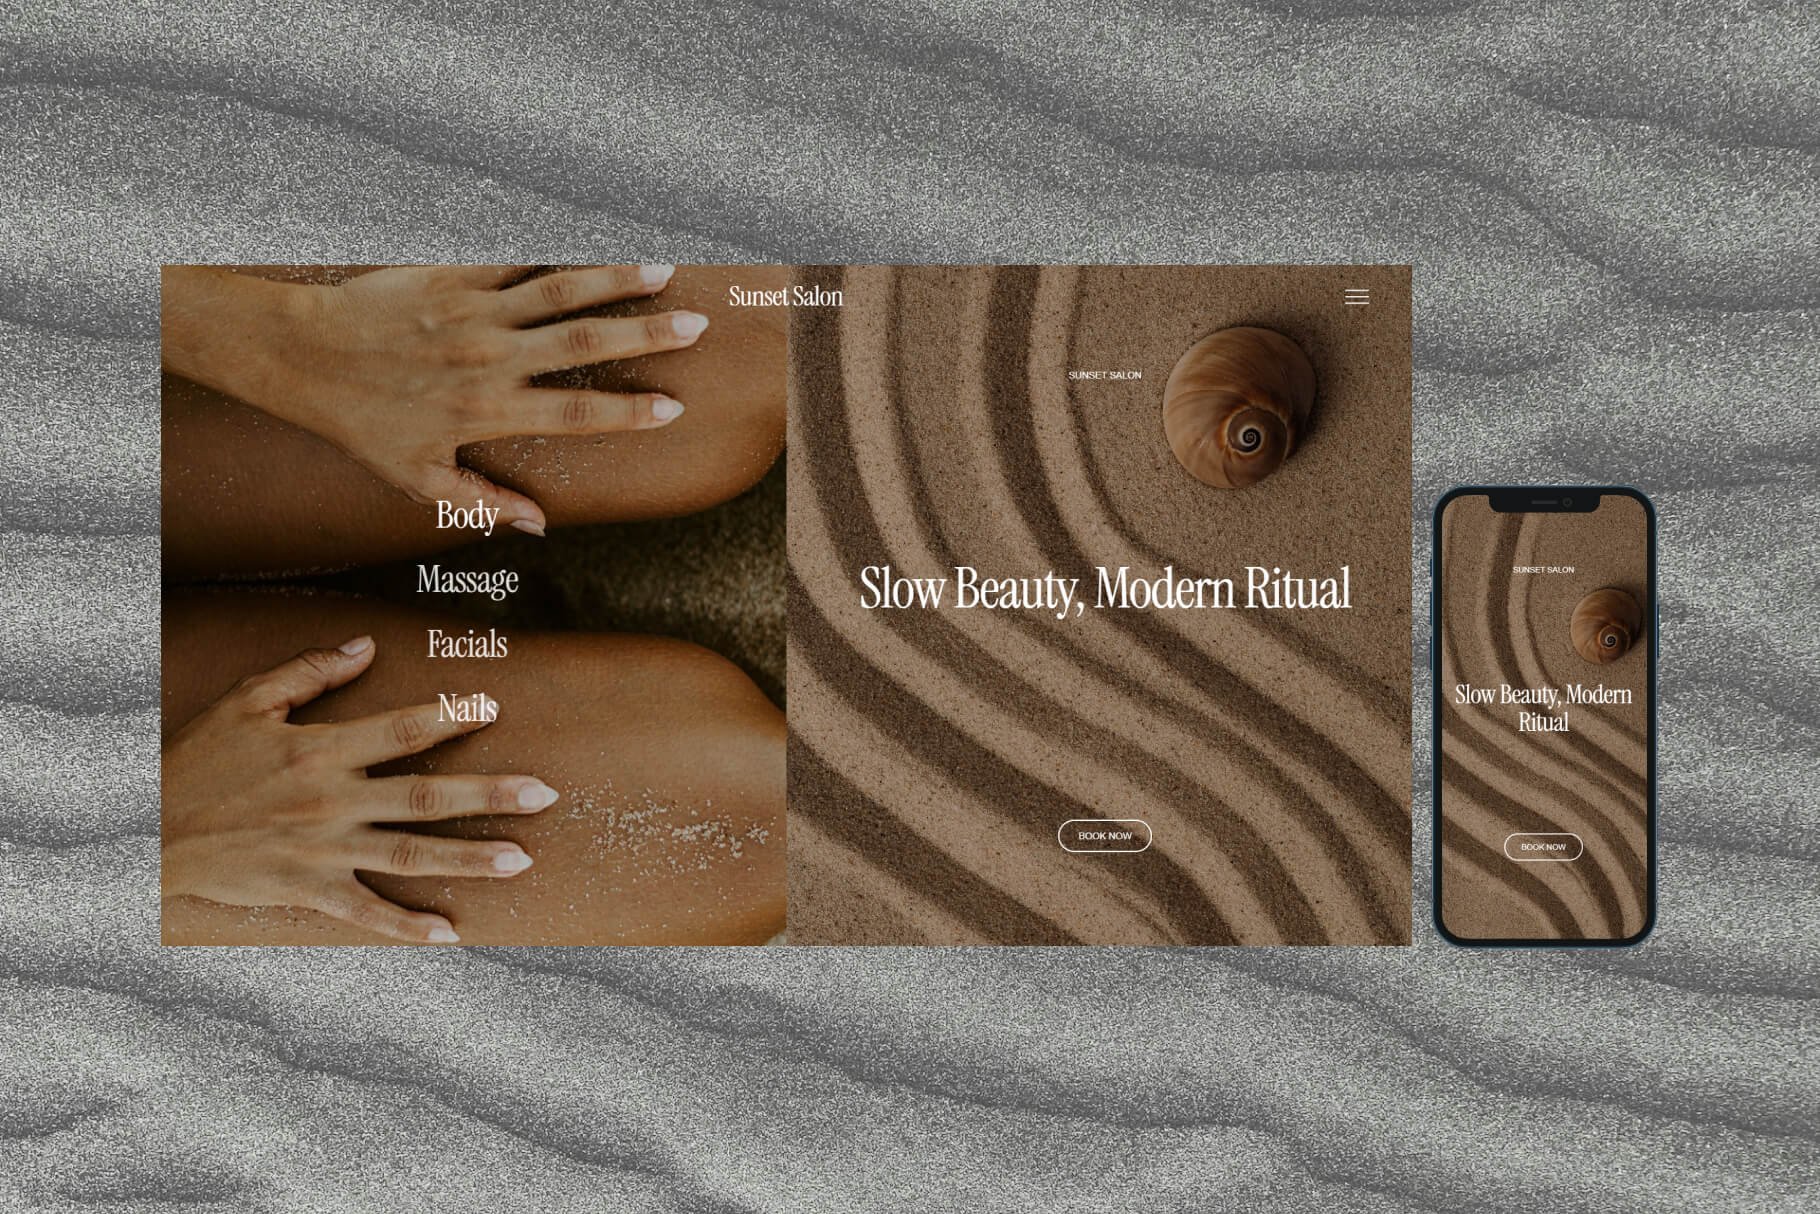
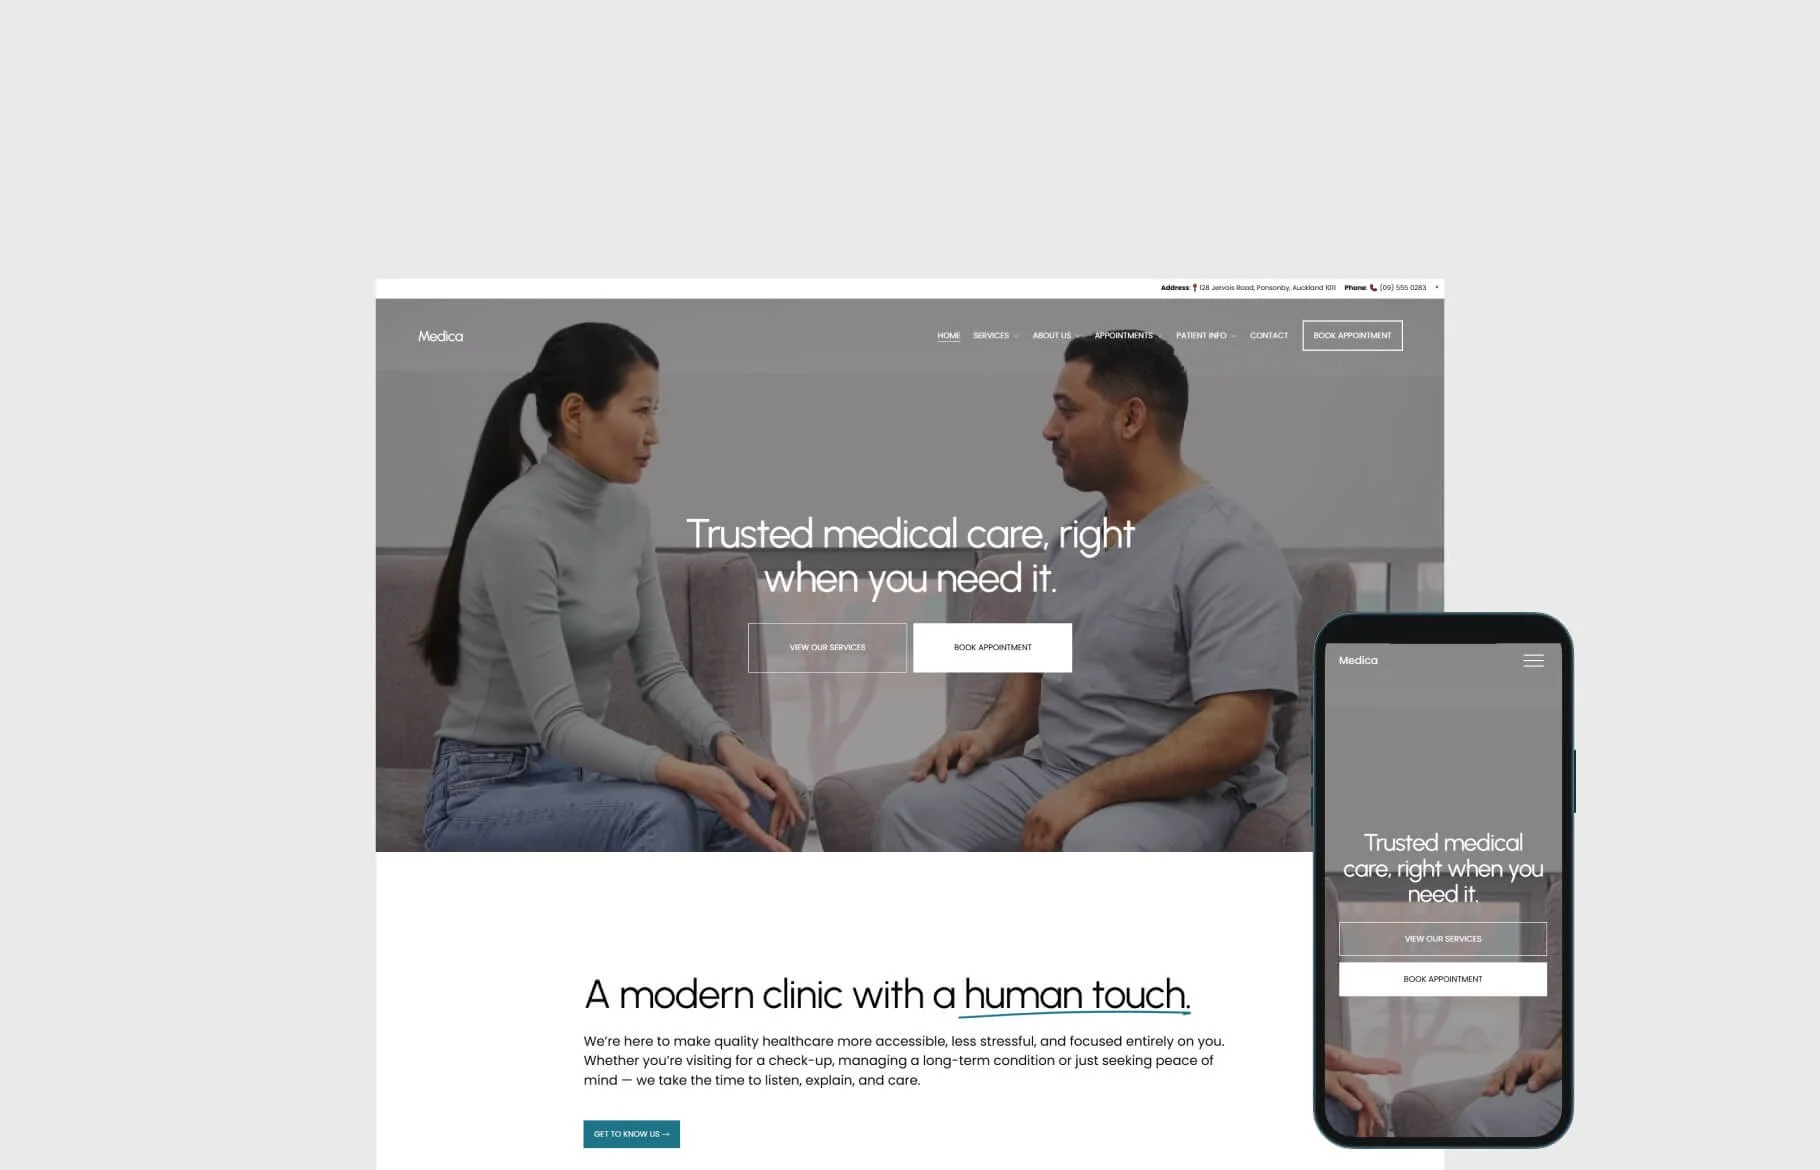
Homepage
Your homepage is your first impression - it needs to captivate immediately.
Bold Hero Section: Use high-quality visuals or a short looping video to set the tone. Make it aspirational and on-brand.
Unique Value Proposition: Clearly communicate what makes your brand exceptional. Keep text minimal - let visuals do most of the talking.
Primary Call-to-Action (CTA): Guide visitors toward your main goal, whether that’s “Shop Now,” “Book a Consultation,” or “Explore Our Collection.” Consider adding a secondary CTA for visitors who need more time, like “Learn More.”
Optional Features: Subtle animations, hover effects, or a featured testimonial slider can add an extra layer of polish without clutter.
About Page
This is your story - it builds trust and connects with your audience emotionally.
Share the brand’s origin story, values and mission.
Highlight your team, craftsmanship or unique process. Luxury clients appreciate authenticity and attention to detail.
Include photos, behind-the-scenes videos or client highlights to make it engaging.
Products or Services Page
Showcase your offerings with elegance and clarity.
Use a grid layout for product listings or detailed sections for service descriptions.
Include high-resolution images, concise descriptions and clear pricing (if applicable).
Consider adding filters or categories for easier navigation.
Add subtle hover effects or animations to create a polished, interactive experience.
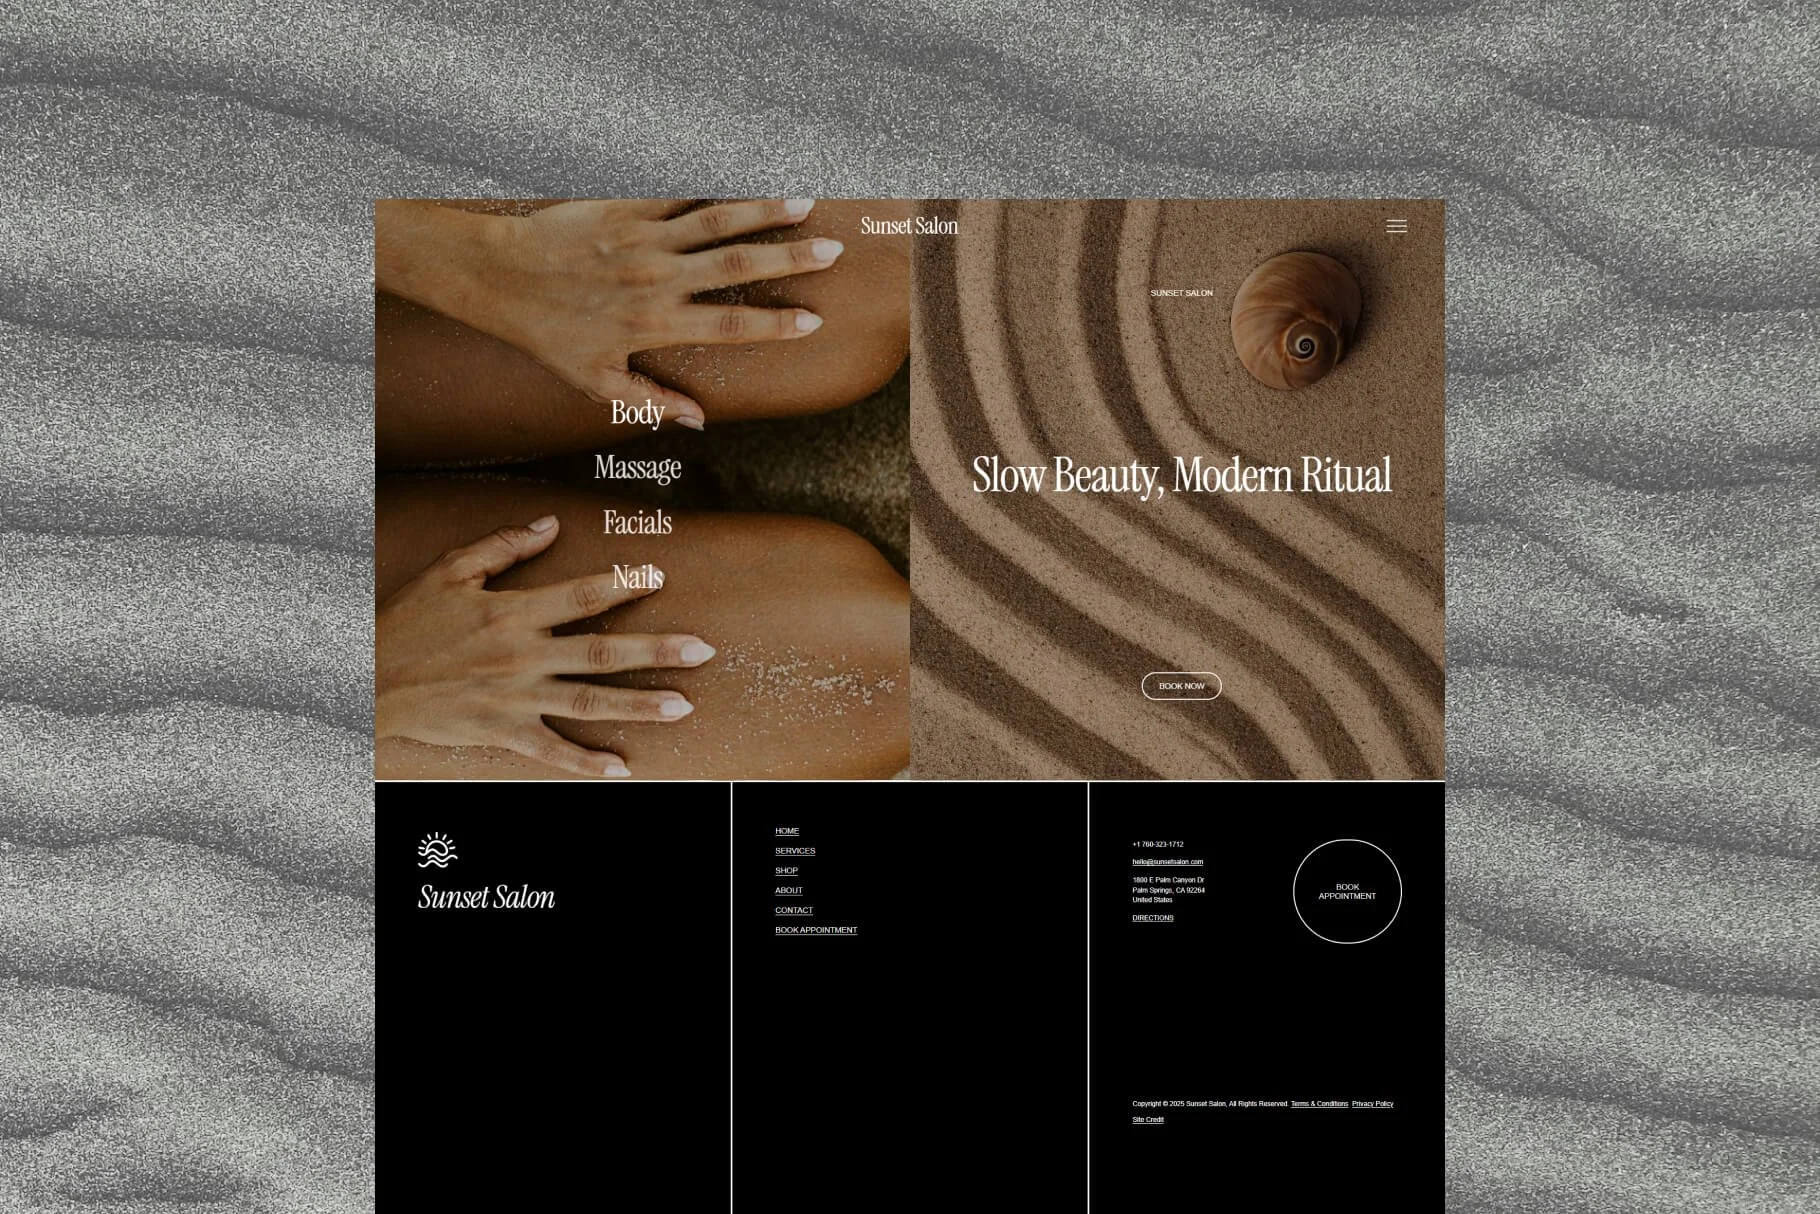
Contact Page
Make it effortless for clients to reach you.
Include a contact form with clear fields and a concise message prompt.
Provide multiple contact options: email, phone or chat.
Add location details, maps or business hours if relevant.
Consider adding a short FAQ for common questions to reduce friction.
Blog (Optional but recommended)
Establish authority, improve SEO and engage your audience longer on your new website.
Publish at least three high-quality blog posts at launch. Focus on topics relevant to your niche or positioning.
Include professional visuals, concise headings and internal links to core pages.
Use your blog to share insights, thought leadership or behind-the-scenes content that reinforces your brand story and encourages people to come back to your website again and again.
Step 3: Add interactive elements
Your website should feel immersive and interactive to stand out from the crowd. Consider including:
Smooth scrolling and subtle animations.
Hover effects on buttons or images.
Video backgrounds for an opulent touch.
Step 4: Optimise for mobile
Ensure your design is fully responsive:
Test all buttons, images and text on mobile and tablet views.
Adjust any misaligned elements.
Day 3: Refine & launch

Step 1: Fine-tune your design
Go through each page with a critical eye:
Eliminate unnecessary elements that clutter the design.
Check for consistency in spacing, alignment and font sizes.
Ensure branding is cohesive across all pages.
Step 2: Set up essential features
Luxury websites should prioritise functionality and user experience:
SEO optimisation: Add meta descriptions, titles and alt text for images.
Analytics: Integrate tools like Google Analytics to track visitor behaviour.
E-commerce features (if applicable): Set up payment gateways, shipping options and product descriptions.
Step 3: Test everything
Before going live, your website should be flawless, smooth and fully functional. Even the most well-meaning users will notice every detail, so test thoroughly:
1. Links & Navigation
Check all internal links (menus, buttons, CTAs) work and point to the correct pages.
Test external links for accuracy.
Ensure anchor links scroll smoothly to the intended sections.
2. Forms & Functionality
Test a submission through all contact, subscription and booking forms.
Confirm auto-responses or confirmation emails are sent correctly.
Verify payment gateways, checkout flows and product purchases (if eCommerce).
Test interactive elements: sliders, galleries, pop-ups and hover effects.
3. Responsive Design
Test on multiple devices: desktop, tablet, mobile (both on iOS and Android if possible).
Check layout, font sizes, images and buttons for proper alignment.
Ensure navigation remains intuitive across screen sizes.
4. Speed & Performance
Test page load times using Google PageSpeed Insights, GTMetrix or Pingdom.
Compress images and media to reduce load times without sacrificing quality.
Ensure scripts and animations don’t slow down the site.
5. SEO & Metadata
Check meta titles, descriptions and headings on every page.
Verify alt text is applied to all images.
Confirm URLs are clean, readable and SEO-friendly.
6. Browser Compatibility
Test your website on all major browsers: Chrome, Safari, Firefox, Edge.
Ensure styling, fonts and animations remain consistent.
7. Accessibility
Ensure all images have descriptive alt text.
Test keyboard navigation (tabbing through menus, buttons and forms).
Check color contrast and readability for visually impaired users.
8. Analytics & Tracking
Verify Google Analytics or other tracking tools are installed correctly.
Test goal completions, conversions and events (form submissions, clicks).
9. Security
Ensure SSL certificate is installed and active.
Test login or membership areas for secure access.
Confirm no sensitive data is exposed unintentionally.
Step 4: Launch and promote
Publish your website and announce it to your audience across your channels:
Social media: Share teaser posts leading up to your launch. Use short videos, behind-the-scenes shots or sneak peeks of your hero imagery to create excitement. Post on platforms where your ideal audience spends time - Instagram, LinkedIn or even TikTok if your brand supports it.
Email newsletters: Send a launch announcement to your subscribers. Make it personal and exclusive, positioning them as your first audience to experience the new site. Include a direct link to the homepage or key landing pages.
Online communities & networks: Share your launch in relevant forums, LinkedIn groups or industry-specific communities. Focus on providing value rather than just promotion.
Monitor and adjust
Track analytics closely during the first week: visits, clicks, conversions and bounce rates. See how visitors are interacting with your new website.
Adjust copy, images or CTAs links / buttons if any elements aren’t performing as expected.
By the end of Day 3, you’ll have a polished, high-end website ready to captivate and convert your audience - all in just a weekend.
Premium Website Templates
Premium Squarespace templates designed to help strategic brands stand out, build trust, and convert - without the cost or complexity of custom design.